Deactivate Integration
The Deactivate Integration feature allows users to temporarily disable an integration without permanently deleting it from the system. This is useful for maintenance, troubleshooting, or when an integration is no longer needed but may be required in the future.
When an integration is deactivated, it remains in the system with all its configuration settings preserved, but it will not execute or process any data until reactivated.
Navigation
To deactivate an integration:
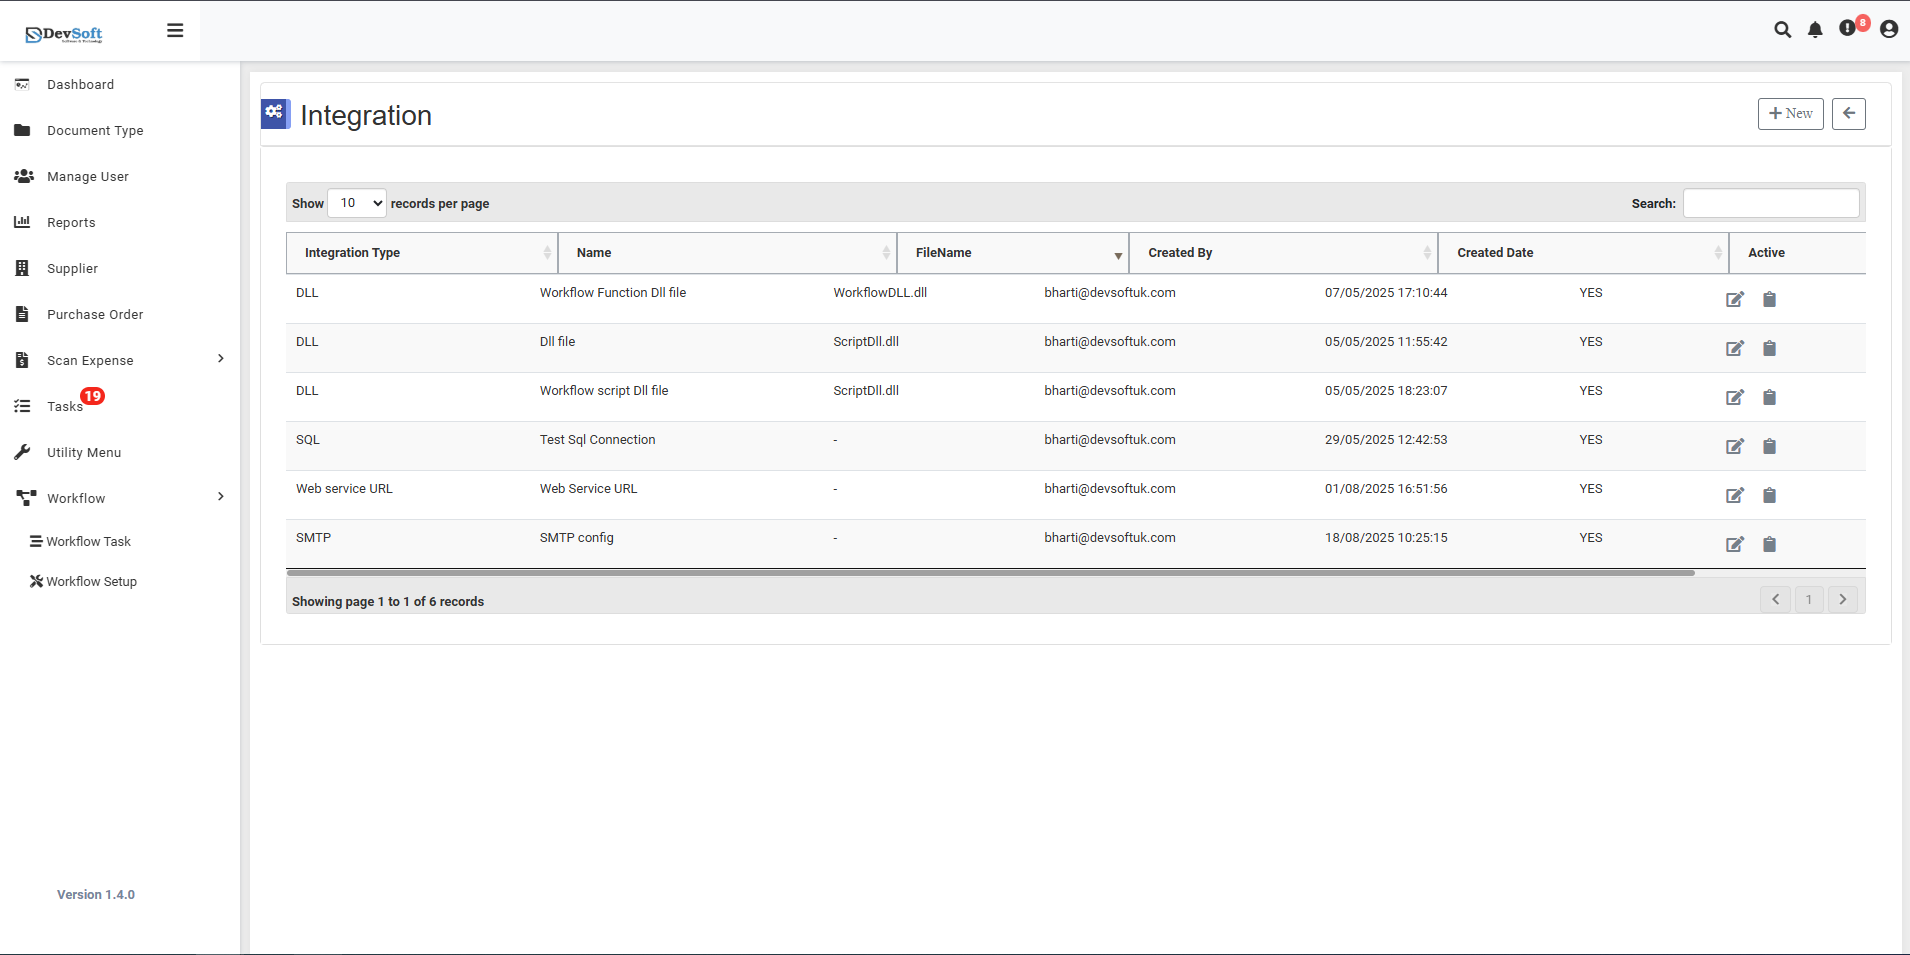
Navigate to Integration Management
Access the main Integration screen through the Workflow Setup menu.Locate Target Integration
Browse or search the integration grid to find the specific integration you want to deactivate.Click Deactivate Icon
Click the deactivate (toggle) icon on the right side of the integration record.- The icon typically appears as a toggle switch or power button
- For active integrations, it shows "YES" in the Active column
Confirmation Workflow
The system displays a confirmation dialog to prevent accidental deactivation.
Deactivation Workflow
Confirmation Dialog
When you click the deactivate icon, the system displays a confirmation message: