Add Claim
The Add Claim page allows users to create new expense claims from scratch. This page is accessed through a complete navigation flow from login to final claim creation.
Navigation
Login to DocView Web
- Enter your email address and password on the login page
- Click the Login button to access the system
Access Main Dashboard
- After successful login, the DocView Web dashboard appears
- This is the central hub for all document management activities
Open Sidebar Menu
- Click the ☰ Sidebar Icon at the top-left corner of the dashboard
- The navigation panel expands to show all available modules
Navigate to Scan Expense
- From the sidebar menu, locate and click Scan Expense
- This reveals three sub-menu options:
- Claim Expense
- Manage Expense
- Pay Expense
Select Claim Expense
- Click Claim Expense from the sub-menu
- The system displays the main Claim Expense page with all your existing claims
Create New Claim
- On the Claim Expense page, click the "+ Add Claim" button
- The Add Claim page opens for creating a new expense claim
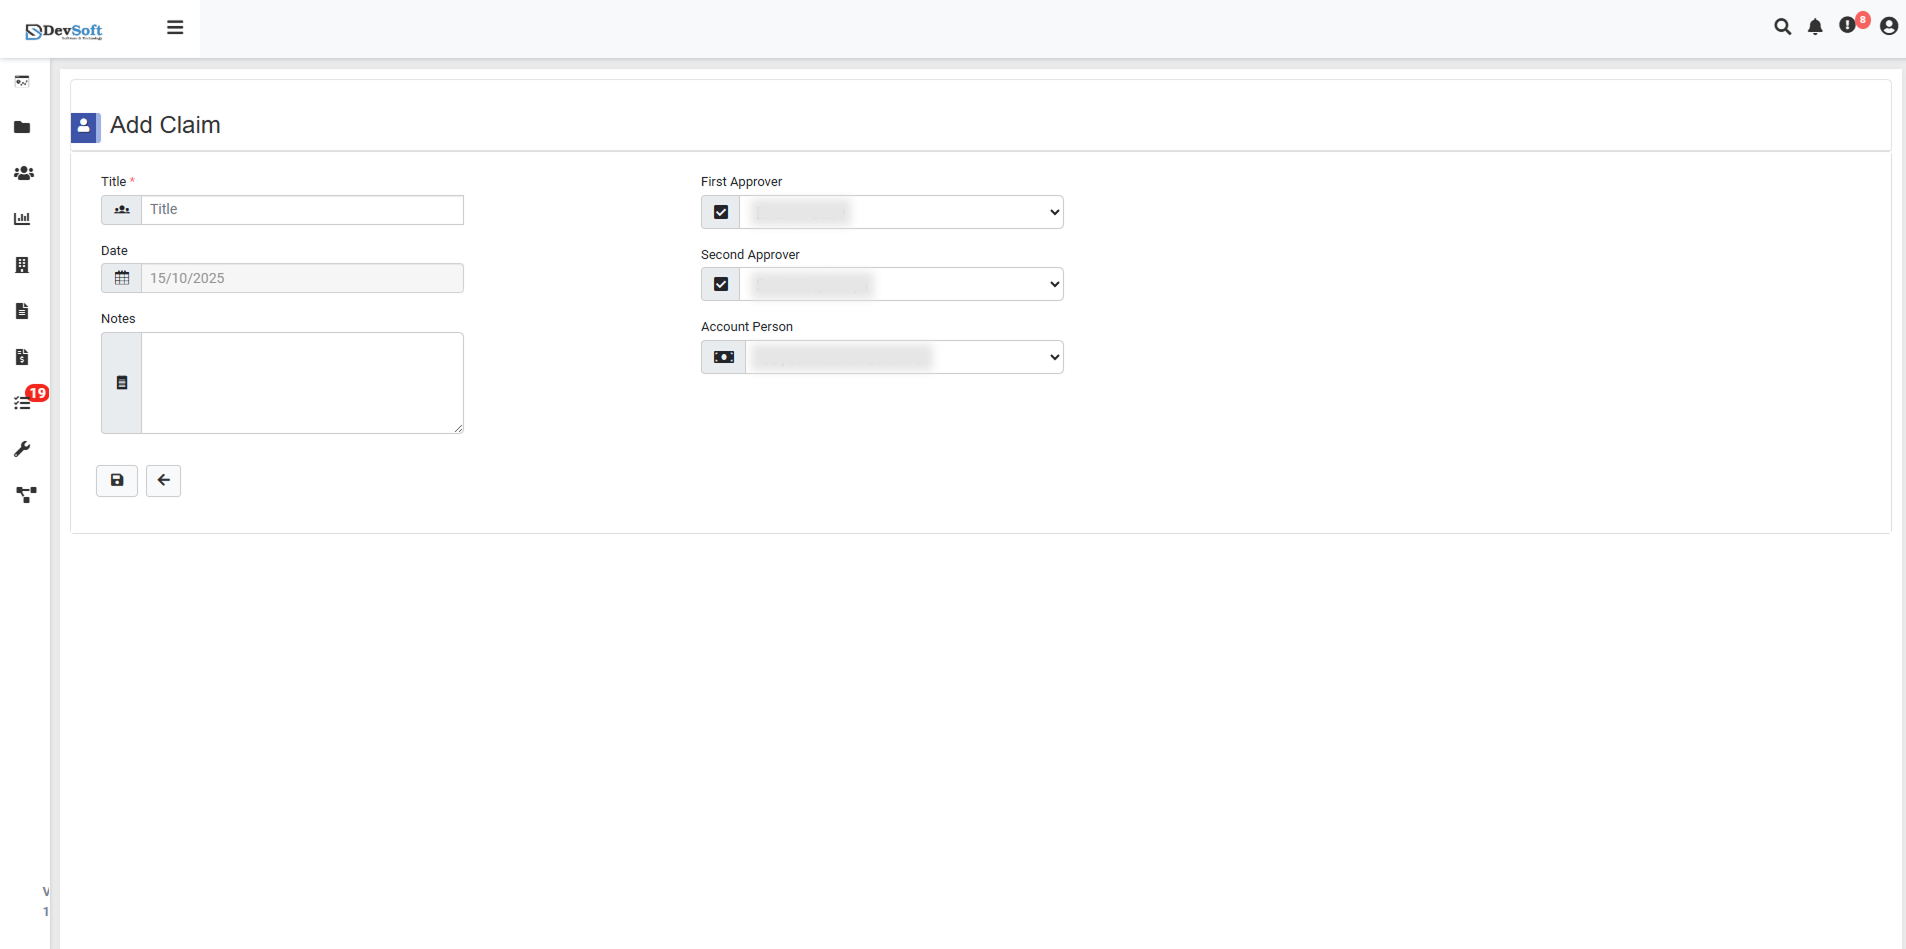
Form Fields
Title Section
- Title* - Mandatory field for naming your expense claim
- Placeholder text: "Title*" indicates this is a required field
- Double entry field for emphasis on importance
- Used to identify and reference the claim throughout the approval process
Date Section
- Date - Date when the claim is being created
- Pre-filled example: "1.01/10/2025"
- Calendar picker interface for easy date selection
- Defaults to current date but can be modified
Notice Section
- Notice - Important information or warnings about claim submission
- Policy reminders and compliance requirements
- Submission guidelines and approval process information
- Company-specific expense policies and limits
Approval Routing Section
First Approver
- Selection Interface: [ ] [x]
- Checkbox or selection mechanism for choosing the first approver
- Dropdown or searchable list of available approvers
- Required selection for claim submission
Second Approver
- Selection Interface: [ ] [x]
- Optional secondary approver for larger amounts or specific categories
- Additional approval layer for compliance requirements
- Can be skipped for claims below certain thresholds
Account Person
- Selection Interface: [ ] [x]
- Financial controller or accounting department contact
- Responsible for final verification and payment processing
- Required for all claim submissions
Form Features
Required Fields
- Asterisk (*) Indicator - Clearly marks mandatory fields
- Validation - Prevents submission until all required fields are completed
- Error Messages - Clear guidance for missing or invalid entries
Selection Interface
- Checkbox System - [ ] indicates unselected, [x] indicates selected
- Dropdown Menus - Search and select from available approvers
- Auto-suggest - Intelligent suggestions based on user history and claim type
Form Controls
- Save Draft - Save claim without submission for later completion
- Submit Claim - Final submission to start approval workflow
- Cancel - Discard claim and return to main page
- Clear Form - Reset all fields to default values
Approval Workflow Setup
Approver Hierarchy
- First Approver - Initial review and approval
- Second Approver - Secondary verification (if required)
- Account Person - Financial processing and payment
Selection Criteria
- Department-based - Automatic approver suggestions based on user department
- Amount-based - Different approvers for different claim amounts
- Category-based - Specific approvers for different expense types
- Project-based - Approvers assigned to specific projects or clients
Date Selection
- Use actual expense dates rather than submission date
- Ensure dates fall within approved expense periods
- Consider company fiscal year and reporting periods
- Verify date accuracy before submission
Approver Selection
- Choose approvers familiar with the expense context
- Consider approver availability and response times
- Follow company approval matrix guidelines
- Verify approver authority for claim amount
Error Handling
Common Issues
- Missing Title - System prevents submission without title
- Invalid Date - Date validation for future or too past dates
- Approver Unavailable - Notifications for unavailable approvers
- Policy Violations - Warnings for claims exceeding limits
Validation Features
- Real-time Validation - Immediate feedback on field entries
- Policy Compliance Check - Automatic policy violation detection
- Approver Availability - Verification of selected approver availability
- Duplicate Detection - Alerts for potential duplicate claims
After completing the Add Claim form:
- Click "Save" to save for later completion
- Click "Submit" to start the approval workflow
- System redirects to the Claim Expense page
- New claim appears in the list with "Draft" or "Submitted" status
- Notification sent to selected approvers for action
Important: Ensure all information is accurate before submission as changes may be restricted once the claim enters the approval workflow. Always retain supporting documents and receipts for audit purposes.